
Drafter is a scale like instrument use to drawing of various 3d and 2d objects . It is used to design the machinery structure ,building ,electronics equipment etc . Drafter is not easy to use as like other scale . You need to learn how to handle and use drafter before using it . After you learn to use drafter you can easily create various vertical horizontal parallel and various angled line in the beginning later you can draw 3d and 2d sketch of various stuffs . Here In this article I will guide you through the steps that can help you to use a mini drafter . Don’t miss any of the steps bellow :
Things Required :
- A3 paper
- Base Paper
- Drawing Board
- Pencil
- Mini Drafter
How To use Mini Drafter :
Step 1 : Clamp the Drafter at the top left corner of drawing board .
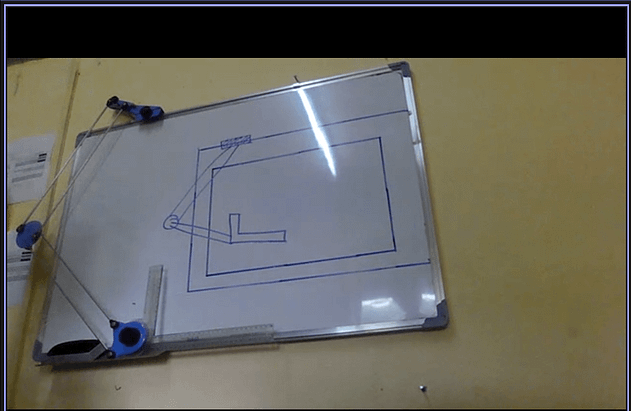

Step 2 : Make the clamp of the scale loose and move the scale .
Step 3 : Coincide 0 Degree of the scale with scratch on drafter . Than clamp the scale tight and make it undisplaceable .
Step 4 : If the table is not smooth than use base paper on the table otherwise no need of using base paper .
Step 5 : Attach the A3 paper in the drawing board such that vertical and horizontal edge of scale coincide with vertical end of the paper and horizontal with horizontal .
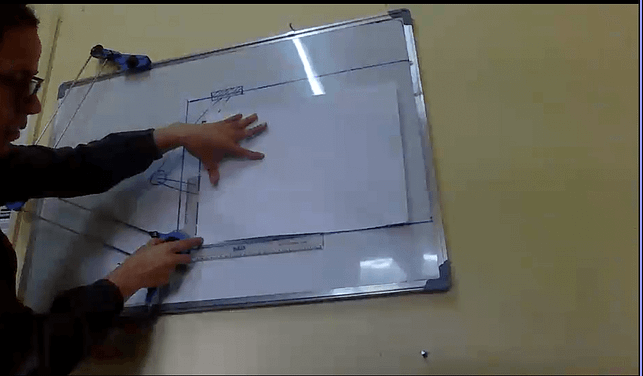

Step 6 : After that attach tape at the four corner of A3 paper .
Step 7 : Make a Boarder line at the 4 corner . Make line depending on your use ( Recommended 20mm at each corner ) .
Step 8 : Use 2H pencil to make a border line .
After successfully followed the steps and did as step . You are good to go . Now you can make design and work according to your need .If you are willing to test your knowledge than here is an assignment . Assignment for engineering drawing 1st semester .


